My Gear.
In order to capture the intricate details of macro subjects, I utilize the combination of a powerful and lightweight camera system, specialized optics, and a variety of other tools. Here, you’ll see what gear I use and learn a bit about each item. If you decide to make a purchase, be sure to use the links on this page so I get credit for the referral. Feel free to get in touch if you have any questions.
Cameras and Lenses
It all starts with a camera and a lens. OM SYSTEM equipment offers compact size, powerful image stabilization, durable build quality, and an array of specialized computational photography features.


Save $400!
OM SYSTEM OM-1 Mark II
Released in 2024, the OM-1 Mark II is the evolution of OM SYSTEM’s widely-praised OM-1 camera. The Mark II introduces improved autofocus, new AI focusing options, 8.5 EV stops of compensation, an incredible Live Graduated ND feature, and more. If you want a fun-to-use body that's loaded with computational features, this is the camera for you.
Check It Out
OM SYSTEM OM-1
Released in early 2022, this was the first camera to use the OM SYSTEM name (and the last to wear the Olympus logo). A successor to Olympus E-M1 series cameras, the OM-1 improved upon my old favorite. It's super compact, has IP53 weathersealing, delivers incredible IS, and yields greater depth of field than traditional DSLRs.
Check It Out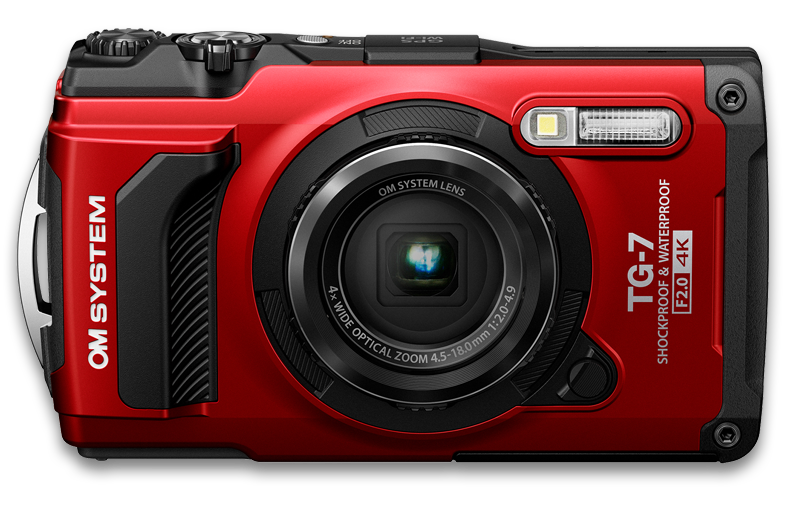
Save $100!
OM SYSTEM Tough TG-7
This little go-anywhere, do-anything camera is waterproof, shockproof, freezeproof, and crushproof...but it isn't just for underwater and adventure shooting. It also has some awesome macro functions that yield incredible magnification, features a high-speed F2.0 lens, and even produces raw files!
Check It Out
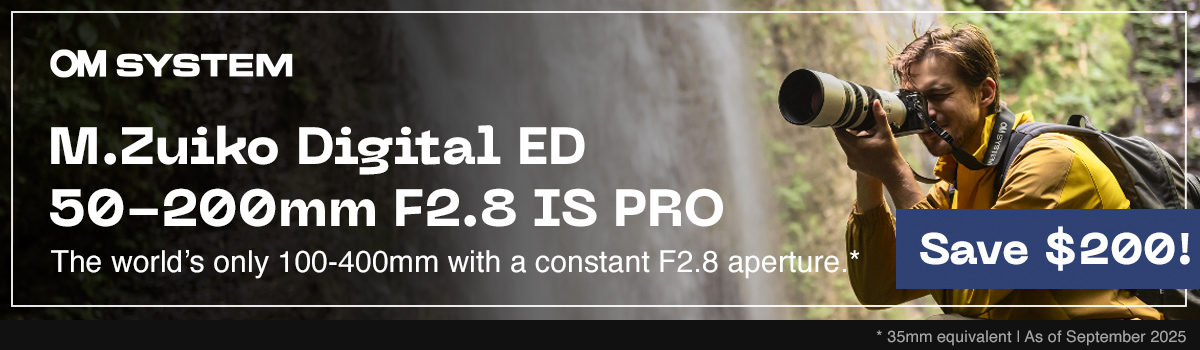
Save $200!
OM SYSTEM M.Zuiko Digital ED
90mm F3.5 Macro IS PRO
My best friend! I know I’m not alone in saying this is the lens I’ve been dreaming of for a LONG time. It delivers 2x magnification, high-speed autofocus, 5-axis sync IS, and IP53 weather resistance. It’s even compatible with Olympus/OM teleconverters. And since Four Thirds sensors are half the size of full-frame sensors, the full-frame equivalent (FFE) magnification looks like 4x!
Check It Out
Save $100!
OM SYSTEM M.Zuiko Digital ED
60mm F2.8 Macro
This tiny, 3-inch-long lens made me fall in love with macro. It can produce up to 1x (2x FFE) magnification, has a physical focus limiter switch with a 1:1 shortcut, and includes a live magnification indicator. Although it isn’t considered a ‘pro’ lens, it’s still completely weathersealed!
Check It Out
Save $120!
OM SYSTEM M.Zuiko Digital ED
30mm F3.5 Macro
Pocket-sized macro with big results. This is a perfect entry-level lens for anyone dipping their toes into macro. Since it has a very short working distance and lacks weather sealing, it isn't my favorite choice for the field, but its 1.25x (2.5x FFE) magnification is ideal for high-detail flower, refraction, or jewelry shots.
Check It Out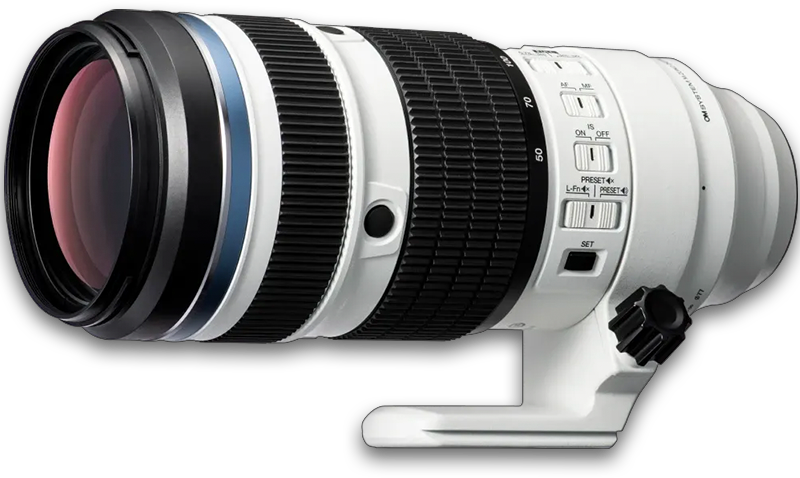
Save $200!
OM SYSTEM M.Zuiko Digital ED
50-200mm F2.8 IS PRO
'Little White' is here! The second I saw this lens, I was sold. Like a shrunken-down version of OM's legendary 150-400mm lens, it's perfect for longer-range shots of skittish subjects like butterflies or dragonflies. And when you add the MC-20 2x Teleconverter, you can actually magnify results all the way up to 1x (FFE)!
Check It Out
Save $300!
OM SYSTEM M.Zuiko Digital ED
40-150mm F2.8 PRO
While not a true “macro” lens, the 40-150 (80-300 FFE) has a short working distance that can deliver nearly .25x (.5x FFE) magnification. With wonderful brightness and a fair bit of reach, this lens is a great portable telephoto option for those 'pseudomacro' moments.
Check It Out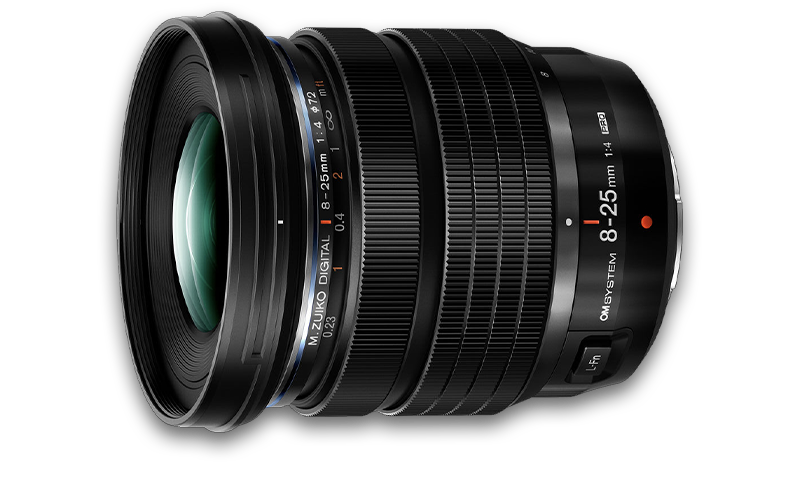
Save $300!
OM SYSTEM M.Zuiko Digital ED
8-25mm F4.0 PRO
Get close and get wide! Like the 40-150, this lens won't yield true macro magnification, but it's still an awesome tool for getting up-close and personal with subjects. It's perfect for bringing more of the environment into view. If you like photographing frogs or snakes, you'll want to give this lens a try!
Check It Out
OM SYSTEM M.Zuiko
1.4x Teleconverter MC-14
The weathersealed MC-14 is placed between the camera body and a compatible lens to deliver greater magnification than the lens provides on its own. I’ve used the MC-14 with my 40-150mm F2.8 PRO for years, but now I get to pair it with the 90mm Macro and boost magnification to 2.8x (5.6x FFE)!
Check It Out
Raynox DCR-250
If I’m looking for extra magnification when photographing particularly small (and cooperative) subjects, I’ll sometimes attach this Raynox adapter to my macro lens. The adapter can be quickly threaded onto the 60mm Macro by using a 46mm to 43mm step DOWN ring. If you want to use the universal squeeze adapter, grab a 46mm to 58mm step UP ring.
Check It OutLighting
Quality light may just be the most important factor for producing a successful photograph. I like to use a shoe-mounted flash to illuminate the details of small subjects, but it’s important to direct and soften the light to help avoid excessively dark shadows or overly bright hot spots.

OM SYSTEM FL-700WR
This flash, referred to as a "sequential shooting powerhouse" by OM SYSTEM, completes my compact macro system. It runs on four AA batteries, has a built-in LED to aid in focusing, and carries an IPX1 certification.
Check It Out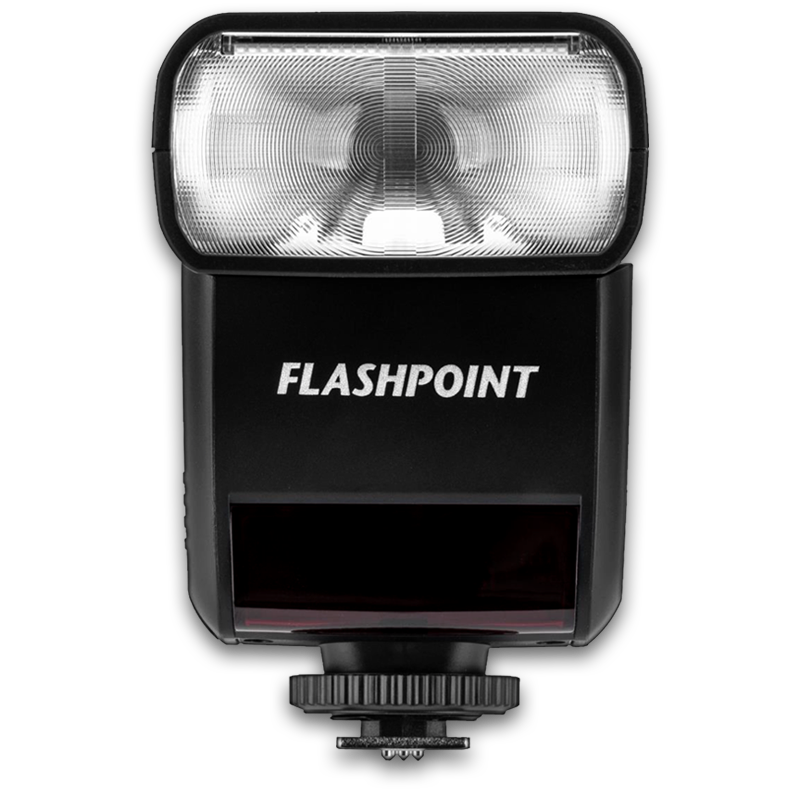
Godox/Flashpoint TT350o Mini Thinklite
This inexpensive and compact alternative is specifically made for use with Olympus/OM and Panasonic cameras. Although it isn't weathersealed, it’s easy to use, has good recycle time, and uses just two AA batteries.
Check It Out
Cygnustech Macro Diffuser
Brendan 'Cygnus' James has worked tirelessly to perfect the design of this made-to-order, single-layer diffusion solution. It's weatherproof, highly durable, and folds flat. It looks pretty damn cool, too! I do not make nor directly sell these diffusers. Please note that you need the right size for your setup. The new 90mm Macro is much bigger than the 60mm Macro. If you’re interested in purchasing a difffuser, hit the link below.
Check It Out
Homemade Softbox Diffuser
After extensive research and discussion with experienced shooters, I designed and built this one myself. The box is made of cardboard and lined with aluminum foil, the face is white nonwoven fabric, and the whole thing is held together with gaff tape.
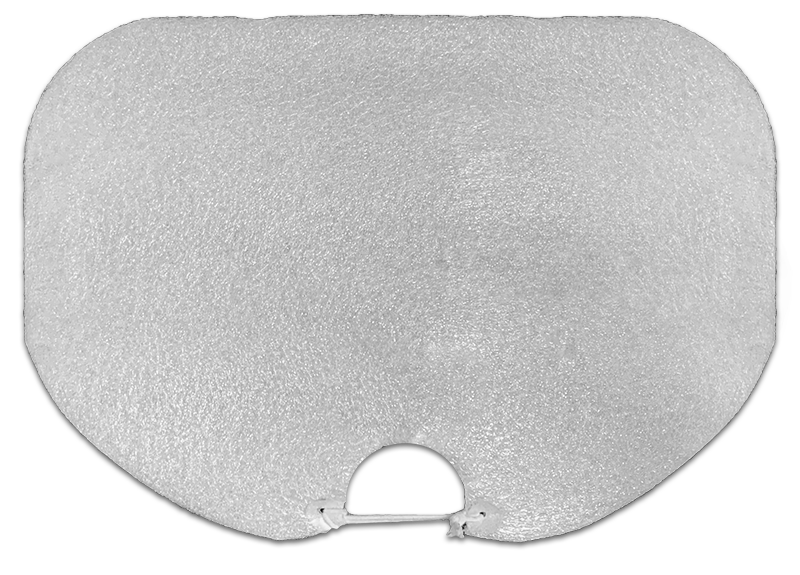
Secondary Foam Diffuser
Used on its own or in conjunction with my homemade softbox, this layer of 3/8" packing foam is attached to the end of my lens with elastic and can be easily moved to various angles or shaped to wrap around my subject.
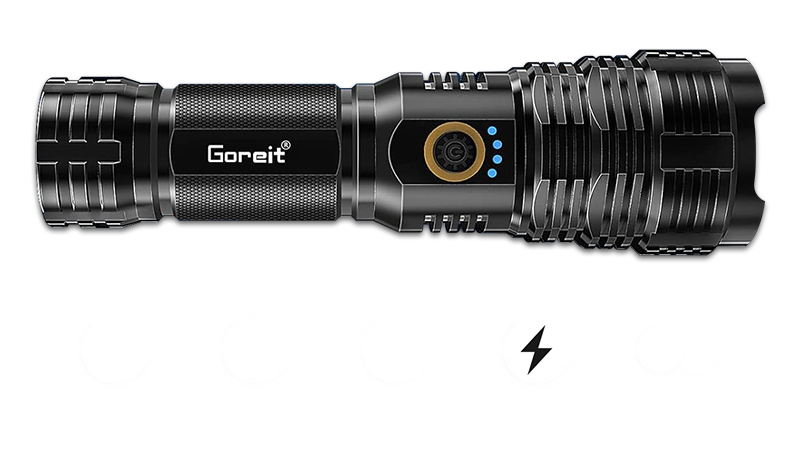
Goreit Rechargeable Flashlight
If you need a REALLY BRIGHT flashlight for nighttime macro, take a look at this one. This high-lumen light can focus on objects over a quarter mile away! It's a little bigger than the Spriak, but it's IP67 waterproof, lasts a really long time, and recharges via USB-C.
Check It Out
SLONIK Headlamp
A reliable headlamp is a must-have accessory for nighttime macro. This 1,000-lumen Cree LED lamp casts a 60-foot beam with six brightness levels and swivels up or down with ease. It’s waterproof, durable, rechargeable (via USB-C), and lasts for hours. Thanks to Ben Salb for the recommendation!
Check It Out
OM SYSTEM STF-8 Macro Flash
The STF-8 is purpose built for macro photography. It's compact, weatherproof, and offers a lot of control. When I first got into macro, I tried the STF-8, but eventually gravitated back to a traditional shoe-mounted speedlight. While I love the control and versatility of this setup, I find it best suited for stationary subjects.
Check It OutCarry
Like most photographers, I want to make sure my gear is protected, organized, and easy to access. I have fallen in love with Peak Design for their fantastic lineup of bags and accessories with lifetime warranties on every product they make. And if you're an outdoor enthusiast, be sure to check out Peak's BRAND NEW Outdoor Line!

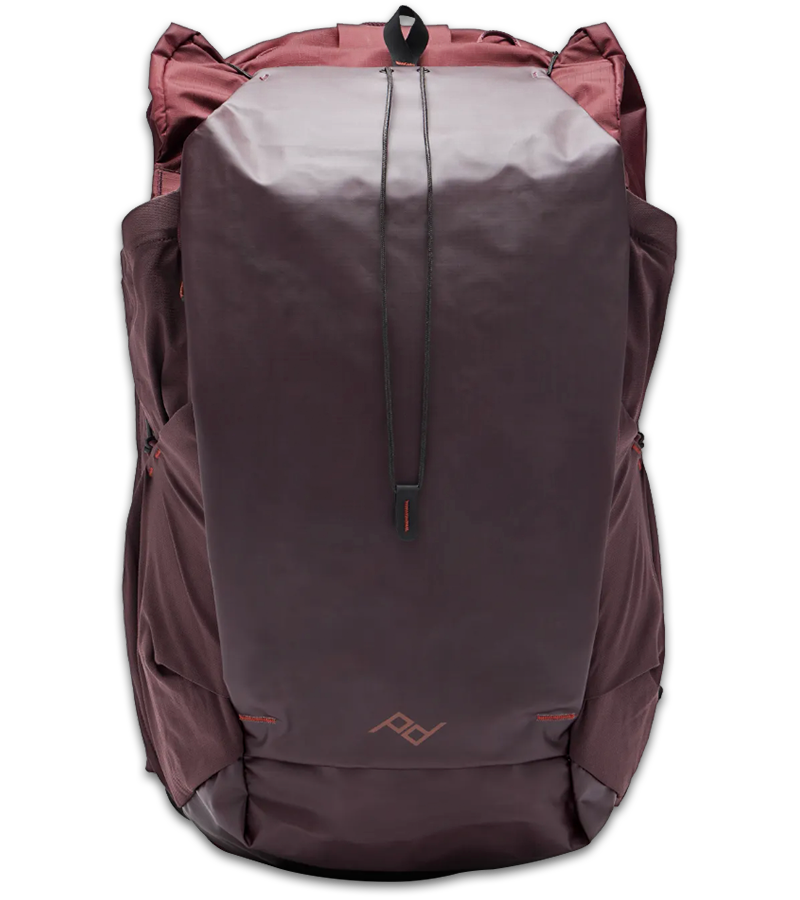
Peak Design 25L Outdoor Backpack
Peak now has a dedicated Outdoor Line! As soon as I saw this product announcement on Kickstarter, I pledged my support. I snagged the new Eclipse colorway, but it also comes in Cloud or Black. If you're a fan of Peak's other gear and/or just want a rad pack to match your outdoor lifestyle, give this one a look!
Check It Out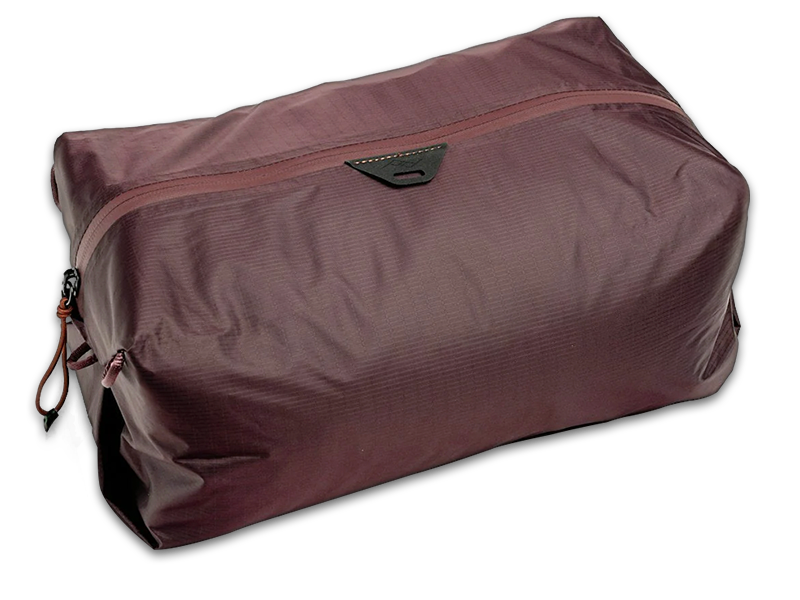
Peak Design Ultralight Packing Cube
This family of ultralight minimalist pouches is offered in a range of new sizes, colors, and fabrics. They're available with a weatherproof Terra Shell™ 50D material or and see-through nylon stretch mesh, and they're perfect for organizing all sorts of odds and ends.
Check It Out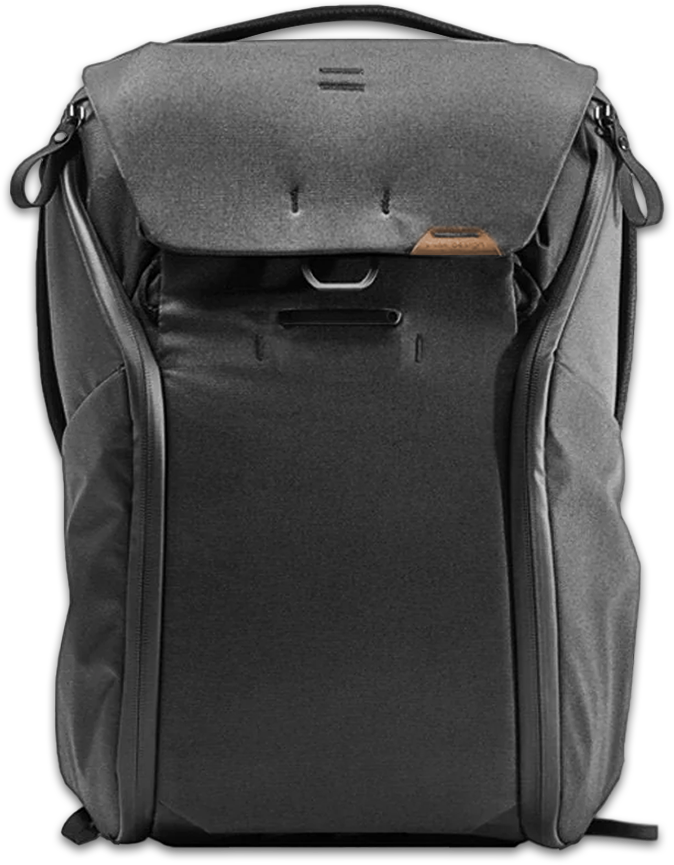
Peak Design 20L Everyday Backpack (V2)
I bought my first (V1) Everyday Backpack in 2017. It’s a camera bag, it’s a computer bag, and it’s even been a diaper bag. The attention to detail is unmatched. After seven years of use, one of the zippers on my V1 bag broke. Thanks to the lifetime warranty and Peak's amazing customer service team, I was upgraded to V2!
Check It Out
Peak Design Camera Cubes
Although I keep commonly-used gear in my backpack at all times, I use Camera Cubes to pack, store, or bring along extra equipment. These cubes keeps everything safe and tidy. The Smedium fits perfectly inside my Outdoor Backpack, and I can even attach my Slide Lite to carry a Cube as a bag!
Check It Out
Peak Design Cuff
This wrist loop is one of my favorite accessories. The Cuff attaches and detaches via Peak’s patented anchor links, can convert to a bracelet when not attached, and will automatically cinch down if you drop your camera.
Check It Out
Peak Design Slide Lite
When I’m on longer walks or want to let go of my camera for a while, I switch from the Cuff to the Slide Lite. This neck strap is easily adjusted and also connects to my camera with Peak’s versatile anchor links.
Check It Out
Peak Design Tech Pouch
This is where all of the ‘extras’ get stashed. My Tech Pouch is always loaded with a phone charger, disposable AA batteries, random adapters, and whatever else I think might come in handy while traveling.
Check It Out
Honsky SD Card Case
This splash resistant SD and microSD card case is pretty basic, but that doesn’t mean it isn’t a great accessory. At just $9, it’s a cheap and effective way to keep tabs on (and protect) your spare memory cards.
Check It OutAdditional Equipment
Beyond the standard gear, I rely upon a variety of other items while in the field. Although they may seem somewhat miscellaneous, the products in this category can be really helpful.

Anker 537 Power Bank
This portable power bank packs a massive 26800mAh capacity. It has a 45W USB-C port and two 15W standard USB ports to keep my camera and other electronics charged while I'm in the field. Not only will it charge my camera, but thanks to the OM-1's USB-C power delivery feature, I can power my camera while shooting!
Check It Out
Panasonic Eneloop Pro AA Batteries
These rechargeable batteries come with their own charger and keep my flash firing. Delivering up to 2550mAh, they seem to last much longer than disposable AA batteries and can be recharged up to 500 times! I always keep a spare set of disposable AAs in my bag, but I rarely need to reach for them.
Check It Out
Lexar Professional UHS-II SD Cards
When I upgraded to the OM-1, I also upgraded my memory cards. Lexar Professional 1800x SDXC UHS-II GOLD Series cards offer super-fast read speeds up to 280 MB/s and write speeds up to 210 MB/s. The extra speed is welcome when it's time for rapid-fire bursts, focus bracketing, and/or in-camera focus stacking.
Check It Out
Leatherman Skeletool CX
I love a good multitool, but I don't need an entire toolbox in my pocket. The Leatherman Skeletool CX is an ultra-light, full-size multitool that includes the tools you're most likely to need while in the field. It has a 154CM stainless steel blade, pliers, bit driver, pocket clip, and carabiner/bottle opener.
Check It Out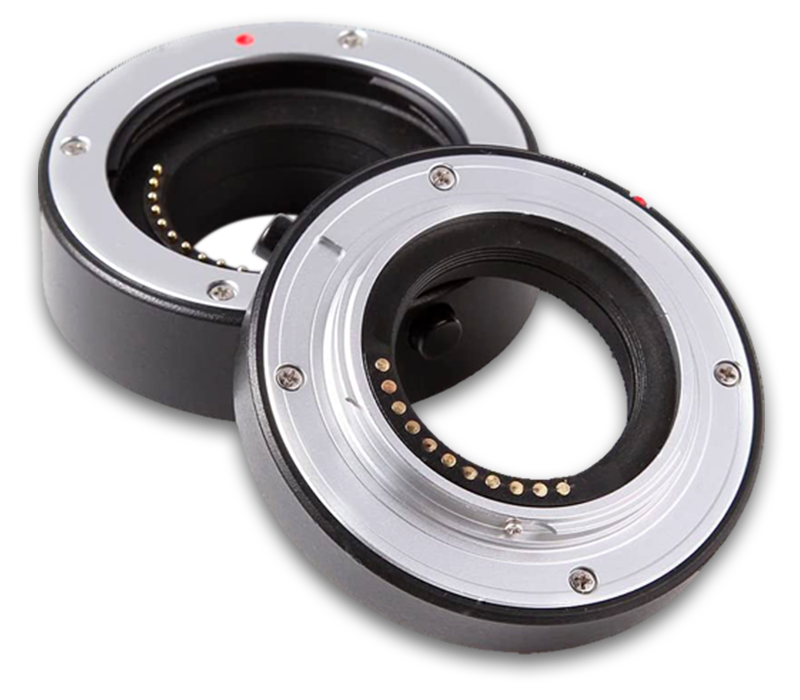
Fotga Extension Tubes
Extension tubes are an inexpensive way to get more magnification out of any lens. These Fotga tubes will do the trick, but they sometimes lose connection. Since I don’t shoot with tubes particularly often, they’re good enough for my needs.
Check It Out
LensPen Cleaning Kit
Never get stuck with dust, dirt, or water spots on your lens. This cleaning kit has everything you need to clean your lens, viewfinder, and filters. The entire kit wraps together nicely in a microfiber carrying pouch.
Check It Out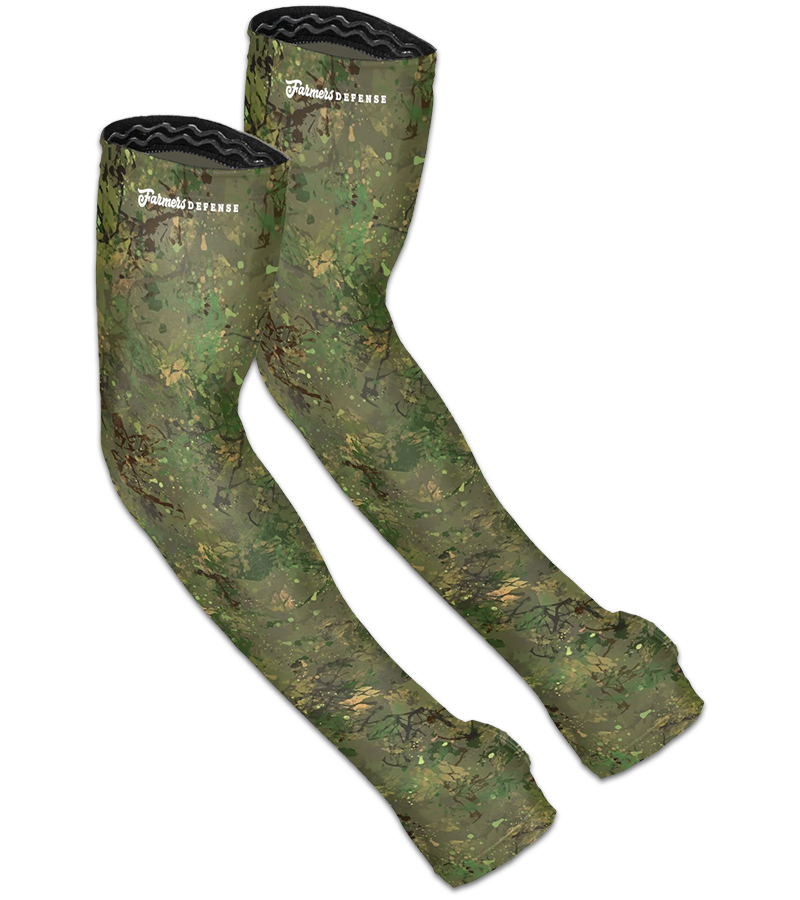
Save 10% with Code: CHRIS80248
Farmers Defense Protection Sleeves
You've probably seen the ads on social and wondered if the hype was real. I was skeptical, too—but I'm really happy I grabbed (a few sets of) these sleeves! They're a great alternative to heavy clothing, but still provide protection from skin allergens and harmful UV rays (UPF 50+).
Check It Out
Focus Bracketing Reference Sheet
Have you ever struggled to determine the appropriate focus differential and/or number of shots to produce a great focus bracketed series of images? Struggle no more! Reduce guesswork and nail your settings with this handy reference sheet for OM-1 and 60mm Macro users.
Check It OutSoftware and Apps
Once my photos are captured, it’s time to finish them on my phone or computer. If I’m traveling and/or want to share right from the field, I’ll simply process images on my iPhone. For more complex edits or focus stacking, I’ll sit down at the computer.

Adobe Lightroom Classic
This is where the most of my photo finishing happens. I’ll modify composition, tweak color, push shadows and highlights, address noise, etc. It's awesome to seamlessly bounce between the traditional desktop solution and what has become a robust mobile solution.
Get Lightroom Classic
Adobe Photoshop
I’ve been a (very) frequent Photoshop user for over twenty years. I’m probably more comfortable in PS than in any other program. Even so, I prefer to process in Lightroom. Typically, I only go into PS for very specific retouching or manual stacking.
Get Photoshop
Topaz Photo AI
When it's time to give my photos that finishing touch, Photo AI magically delivers extra sharpness and eliminates noise. It can even upscale and enhance images. When I want more fine-tuning options, I'll use Topaz's Sharpen AI, Denoise AI, or Gigapixel AI standalone apps.
Get Topaz Photo AI
OM Image Share
OM Image Share is OM SYSTEM's remote control and wireless transfer app. I use it almost every time I shoot. I love being able to capture an image, import it to my phone, process on my phone, and share directly to social media.
Download OM Image Share
iNaturalist
Identifying macro subjects can be a difficult task. Field guides, Google searches, and sites like Bug Guide are great, but the iNaturalist app is my favorite timesaver. Think of it as Shazam for bugs. Upload a picture to see suggested IDs. Give it a try!
Download iNaturalist
Helicon Soft Helicon Focus
If you're interested in focus stacking, I highly recommend trialing Helicon Focus. Although Photoshop can get the job done, HF is significantly faster, has multiple rendering methods, and lets you easily tweak your results.
Download Helicon Focus